
You’ve poured your heart into a fantastic, long-form blog post or a detailed product page. It’s packed with valuable information, but there’s one problem: it’s long. Readers are greeted by a daunting wall of text, and the important section they’re looking for is buried somewhere below.
How do you keep them engaged, help them find what they need instantly, and signal to Google that your content is impeccably organized?
The answer is WordPress anchor links (also known as jump links or table of contents links).
In this comprehensive guide from Valon Hosting, we’ll demystify anchor links. You’ll learn what they are, why they are crucial for user experience and SEO, and most importantly, how to create them in WordPress—both manually for full control and with plugins for incredible ease. Let’s dive in.
What Are WordPress Anchor Links?
An anchor link, or jump link, is a two-part system that allows a visitor to “jump” to a specific section of the same webpage.
-
The Destination (The Anchor): This is the specific place on the page you want to jump to. It’s an HTML element (usually a heading like
<h2>or<h3>) marked with a unique ID (e.g.,id="chapter-1"). -
The Link (The Trigger): This is the clickable hyperlink, usually in a table of contents at the top of the page or within the content itself. It points to the destination anchor using a hash (
#) followed by the ID (e.g.,https://yourwebsite.com/your-page/#chapter-1).
When a user clicks the link, their browser instantly smooth-scrolls to the exact location of the destination anchor.
Why You Absolutely Need to Use Anchor Links
Integrating anchor links isn’t just a fancy trick; it’s a core best practice for modern web design. Here’s why:
1. Enhanced User Experience (UX)
This is the most significant benefit. Anchor links:
-
Reduce Scroll Fatigue: Users can navigate lengthy content without endless scrolling.
-
Improve Content Discoverability: A table of contents with anchor links acts as a map, allowing users to find the exact information they need in seconds.
-
Increase Engagement and Time on Page: When users can easily navigate, they are more likely to stay on your page and consume more content instead of bouncing out of frustration.
2. SEO (Search Engine Optimization) Benefits
Google loves websites that provide a great user experience. Anchor links contribute to this by:
-
Enabling Rich Snippets (Jump-To Links): Google can automatically parse a well-structured page with heading tags and generate its own “jump to” links in the search results. This is a huge credibility boost and can significantly increase your click-through rate (CTR).
-
Creating Internal Linking Opportunities: You can link directly to specific, relevant sections from other pages on your site, creating a powerful and user-friendly internal linking structure.
-
Providing Context to Search Engines: A clear hierarchy with anchors helps Google’s bots understand your content’s structure and the relationship between topics.
3. Professional Appearance and Credibility
A page with a clean table of contents looks organized, well-researched, and authoritative. It shows you value your reader’s time, which builds trust and credibility.
4. Perfect for Specific Use Cases
Anchor links are ideal for:
-
Long-form blog posts and guides
-
FAQ (Frequently Asked Questions) sections
-
Product pages with multiple specifications/details
-
“Back to top” links
-
Landing pages with multiple sections
How to Create Anchor Links in WordPress: Two Powerful Methods
There are two primary ways to create anchor links in WordPress: the manual method (using the Block Editor) and the plugin method. We’ll cover both in detail.
Method 1: The Manual Way (Using the Gutenberg Block Editor)
This method gives you complete control and doesn’t require any additional plugins. It’s perfect if you’re comfortable with a bit of light HTML.
Step 1: Create the Destination Anchor
First, you need to mark the spot on the page you want to jump to.
-
Edit your page or post in the WordPress Block Editor.
-
Navigate to the heading you want to use as the anchor destination. Click on the heading block.
-
Look at the block settings on the right-hand sidebar. You’ll see an “Advanced” panel. Open it.
-
In the “HTML Anchor” field, type a unique, descriptive name for your anchor. Use only lowercase letters, numbers, hyphens, and underscores (no spaces). For example:
what-are-anchor-linksorfaq-question-1. -
Remember this anchor name. You’ll need it for the next step.
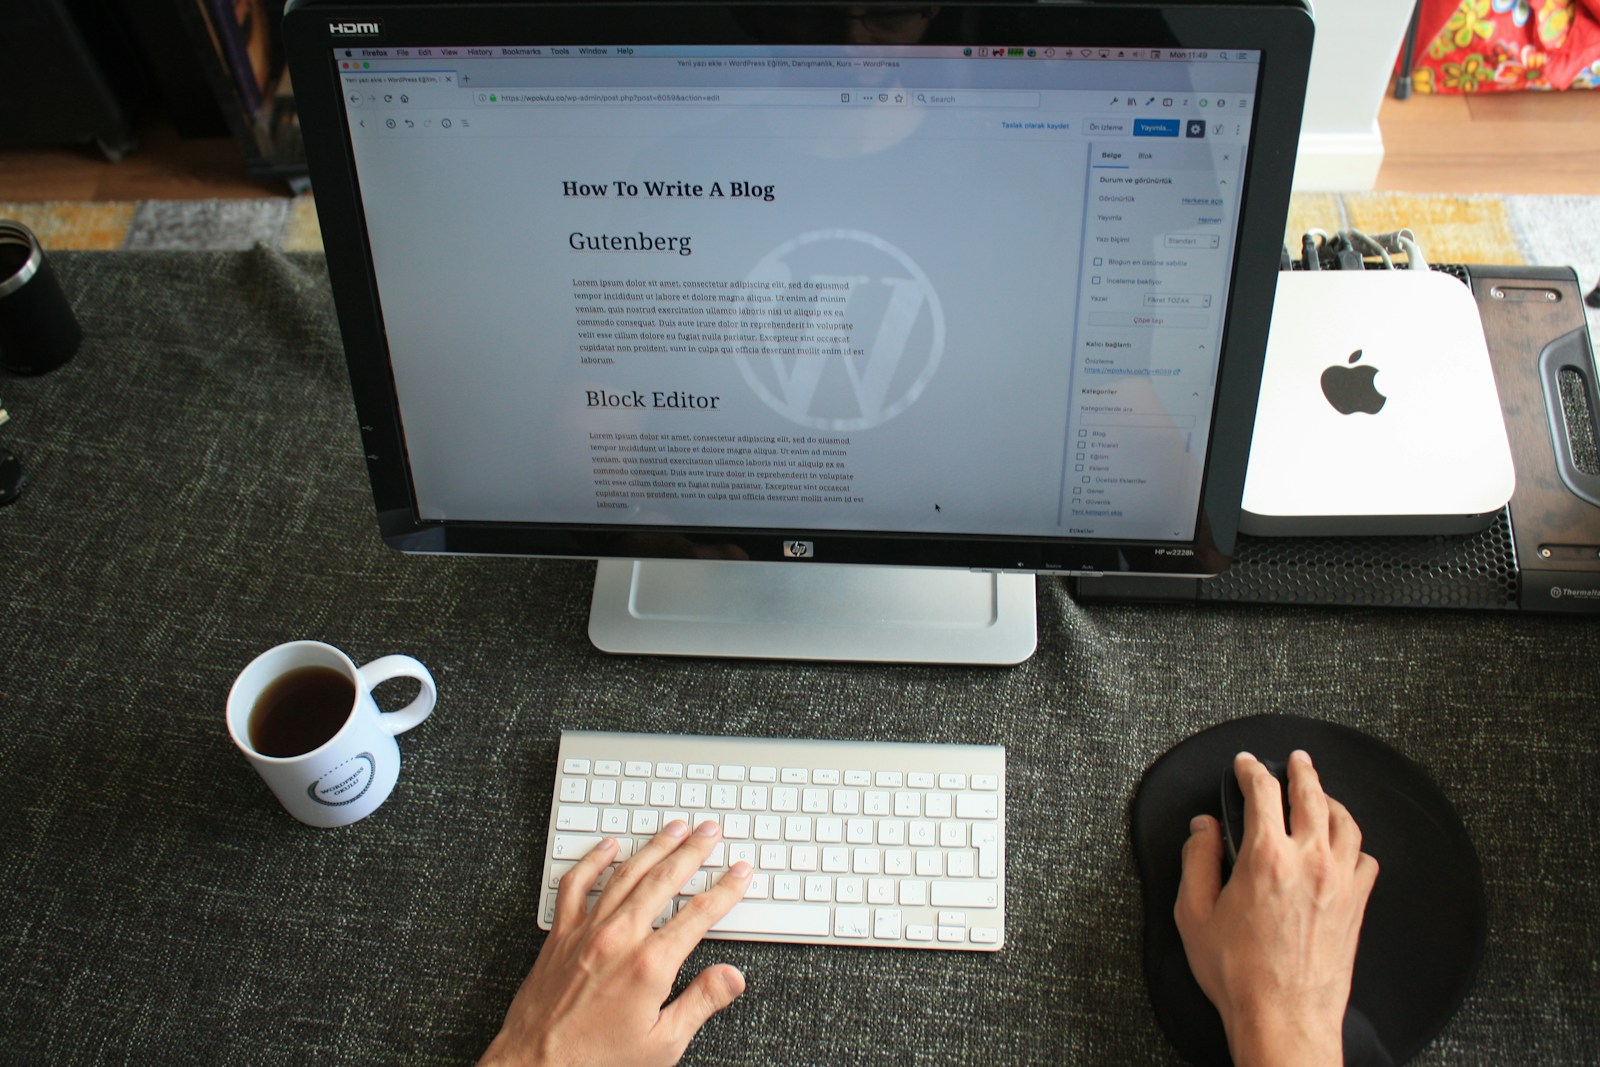
(Image suggestion: A screenshot of the WordPress editor, with the cursor focused on the “HTML Anchor” field in the Advanced settings of a Heading block.)
Step 2: Create the Link to the Anchor
Now, you need to create the hyperlink that will point to your newly created anchor.
-
Go to the text you want to turn into your jump link. This is often in a table of contents at the top of your page. Highlight the text you want to make clickable.
-
Click the link icon in the toolbar or use the keyboard shortcut
Ctrl+K(orCmd+Kon Mac). -
In the URL field, type a hash symbol (
#) followed by the exact anchor name you created in Step 1. For example:#what-are-anchor-links. -
Press Enter to apply the link.
(Image suggestion: A screenshot showing the link creation process, with #what-are-anchor-links being typed into the URL field.)
And that’s it! You’ve created your first manual anchor link. You can test it by updating your page and clicking the link.
Pro Tip: You can also link to an anchor on a different page. Simply use the full URL followed by the hash anchor:
https://valonhosting.com/wordpress-tips/#anchor-name.
Method 2: The Easy Way (Using a Plugin – Table of Contents Plus)
For many users, especially those managing sites with lots of long-form content, a plugin is the way to go. It automates the entire process. Our recommended plugin is Table of Contents Plus for its simplicity and power.
Step 1: Install and Activate the Plugin
-
From your WordPress dashboard, go to Plugins > Add New.
-
Search for “Table of Contents Plus“.
-
Click “Install Now” and then “Activate“.
Step 2: Configure the Plugin Settings
-
Go to Settings > TOC+.
-
Configure the settings to your liking. Key options include:
-
Position: Where the TOC appears (e.g., before the first heading, after the first heading, via a shortcode
[toc]). -
Show when: Set how many headings a post needs to have before the TOC automatically appears (e.g., 4 headings).
-
Heading Levels: Choose which heading levels to include (e.g., H2, H3, H4).
-
Appearance: Customize the look with smooth scroll effects, numbering, and custom colors to match your theme.
-
(Image suggestion: A screenshot of the TOC+ settings page, highlighting the ‘Position’ and ‘Show when’ options.)
Step 3: Let the Plugin Do Its Magic
The beauty of this plugin is that it automatically generates anchor IDs for all your headings and creates a clickable table of contents based on your settings. There’s no manual work required for each anchor. Simply use clear, hierarchical headings (H2, H3, etc.) in your content, and the plugin handles the rest.
Advanced Tips and Best Practices
Creating the link is just the beginning. To truly master anchor links, follow these pro tips:
1. Crafting the Perfect Anchor ID
-
Be Descriptive: Use IDs that describe the section (e.g.,
#benefits-of-seo, not#section-1). -
Use Hyphens, Not Underscores:
best-practiceis better thanbest_practicefor SEO and readability. -
Keep it Simple: Avoid special characters and spaces.
2. Creating a “Back to Top” Link
This is a classic use of anchor links.
-
At the very top of your page, add a Heading block and give it an HTML Anchor like
top. -
At the bottom of your page, add a paragraph or button that says “Back to Top”.
-
Link that text to
#top.
3. Fixing the Header Overlap Issue (Crucial!)
A common problem occurs if your theme has a sticky header that sits at the top of the page. When you jump to an anchor, the heading can be hidden underneath this sticky header.
The Fix (with CSS):
You can add a small CSS snippet to offset the jump. Add this to Appearance > Customize > Additional CSS:
/* Adjust '100px' to the height of your sticky header */
html {
    scroll-padding-top: 100px;
}
This simple code tells the browser to leave 100px of space at the top when scrolling to an anchor, ensuring your content is never hidden.
4. Leveraging for FAQ Schema
Using anchor links in your FAQ headings can help you implement FAQ schema, which can lead to rich results in Google. Combine this with a dedicated FAQ schema plugin for maximum effect.
Troubleshooting Common Anchor Link Problems
-
The link doesn’t work/jumps to the wrong place: Double-check that the ID in your link (after the
#) matches the HTML Anchor exactly. They are case-sensitive. -
The page jumps, but the content is hidden under a header: This is the sticky header issue. Apply the CSS fix mentioned above.
-
The smooth scroll is jerky: This is usually a theme or plugin conflict. The CSS property
scroll-behavior: smooth;can help, but test it thoroughly.
Conclusion: Anchor Your Success with a Better User Experience
WordPress anchor links are a deceptively simple tool with an outsized impact. They are a non-negotiable element for any serious website owner who cares about their visitors’ experience and their site’s SEO performance.
Whether you choose the precise control of the manual method or the incredible efficiency of a plugin like Table of Contents Plus, implementing anchor links will transform your long content from a daunting scroll into an interactive, user-friendly resource.
Ready to build a faster, more organized, and user-friendly WordPress site? It all starts with quality hosting. At Valon Hosting, we provide optimized WordPress hosting solutions that ensure your pages—and your new, slick anchor links—load in the blink of an eye. Explore our hosting plans today and give your audience the seamless experience they deserve.
Leave a Reply